

By Fashion Writer: Wei Ni Lee
As a person who is seriously nail art challenged (I barely paint within the lines of my fingernails), here I showcase you a few simple nail art you can do at home on your own with ZERO experience needed and yet still walkaway with pretty decent looking festive nails. 🙂
Let’s get started!
#1 The Basics
This is the easiest & quickest way to achieve festive nails!
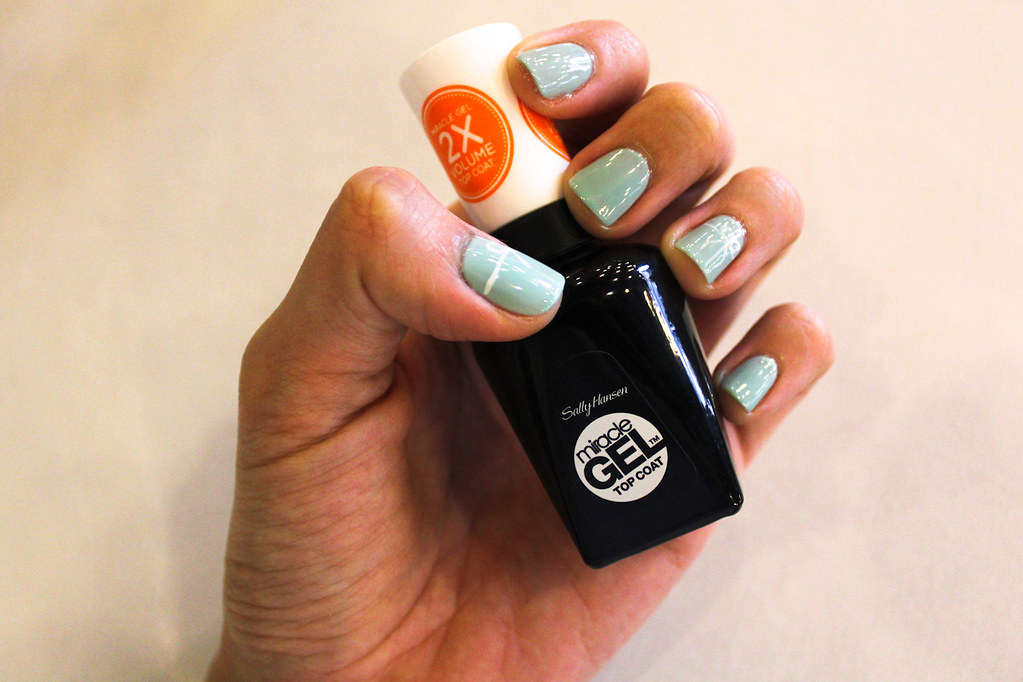
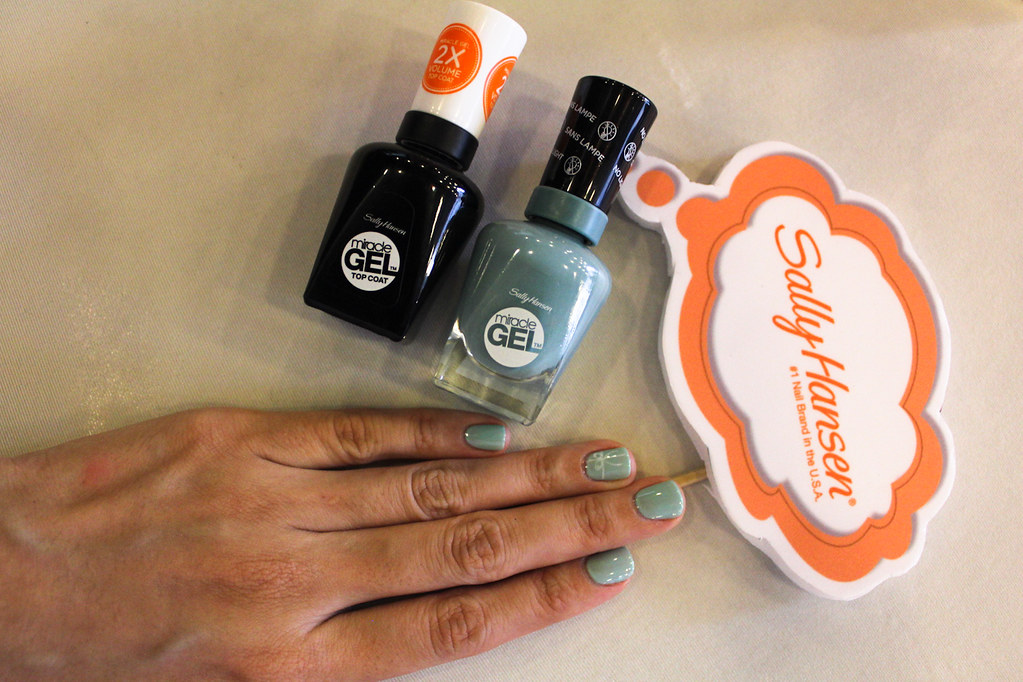
All you need is, pick a base colour of your choice (red/green/blue/nude/silver etc…) I chose a nude colour from Sally Hansen Miracle Gel in Birthday Suit.
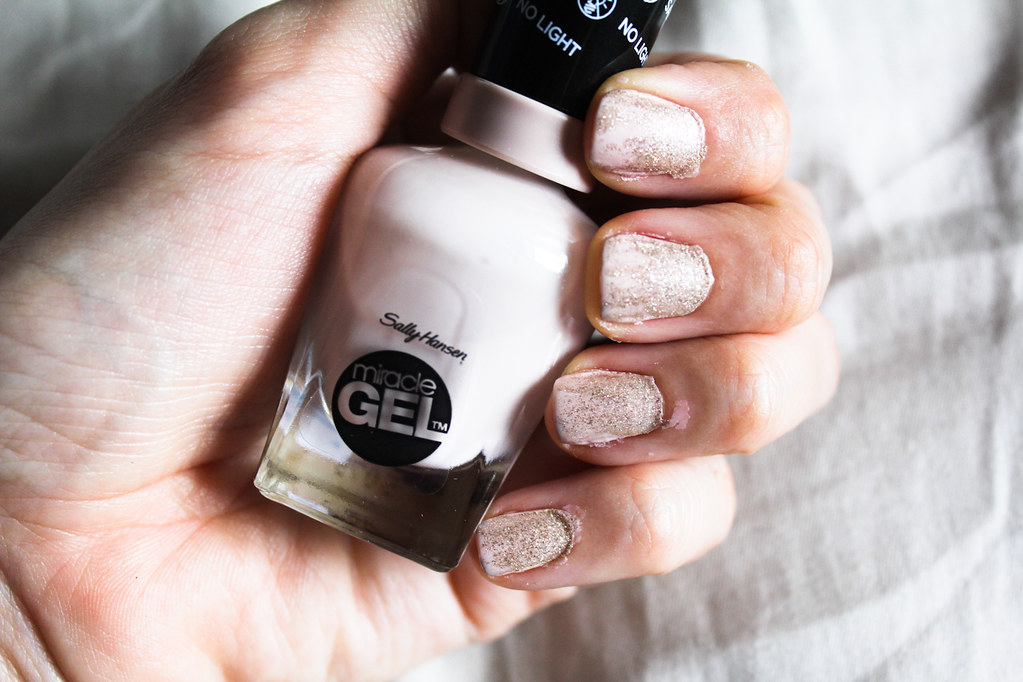
I then topped it off messily with a glitter polish in Zoya’s Tomoko . If you’re more skilled with the polish, opt to paint the glitter polish in a French or Half-moon shape.
I finished this off with Sally Hansen Miracle Gel Top Coat for added shine & to seal in the colour.
This polish combination is perfect to go with any of your outfits as it’s got a pale nude base with a hint of glitter for a touch of Christmas.
#2 Stepping it up a notch
Feel like you’re ready to tackle something a little more challenging? You’ll need 3 polish shades of your choice & masking tape or stripping tape.

Paint your nails with a base colour of your choice. I used China Glaze’s Adventure Red-y for 4 nails & China Glaze’s Mightnight Kiss on the ring finger. You’re certainly more than welcomed to leave it as-is, as this is pretty festive on its own.

I wanted to take it up a notch, so I cut 4 strips of masking tape and attached them diagonally on the nails I painted red. Remember to ensure that your base colour has plenty of time to dry completely before applying tape.

Ensuring that the tape is secure on my nails without any bubbles, I proceeded to apply China Glaze’s Midnight Kiss on all 4 nails. This manicure is a great way to extend your polish, as you’ll be applying another colour on top of your base, creating a whole new look without redoing your entire manicure.
Picking up a 3rd shade (China Glaze’s Deviantly Daring), I painted on whatever is leftover on the nail.
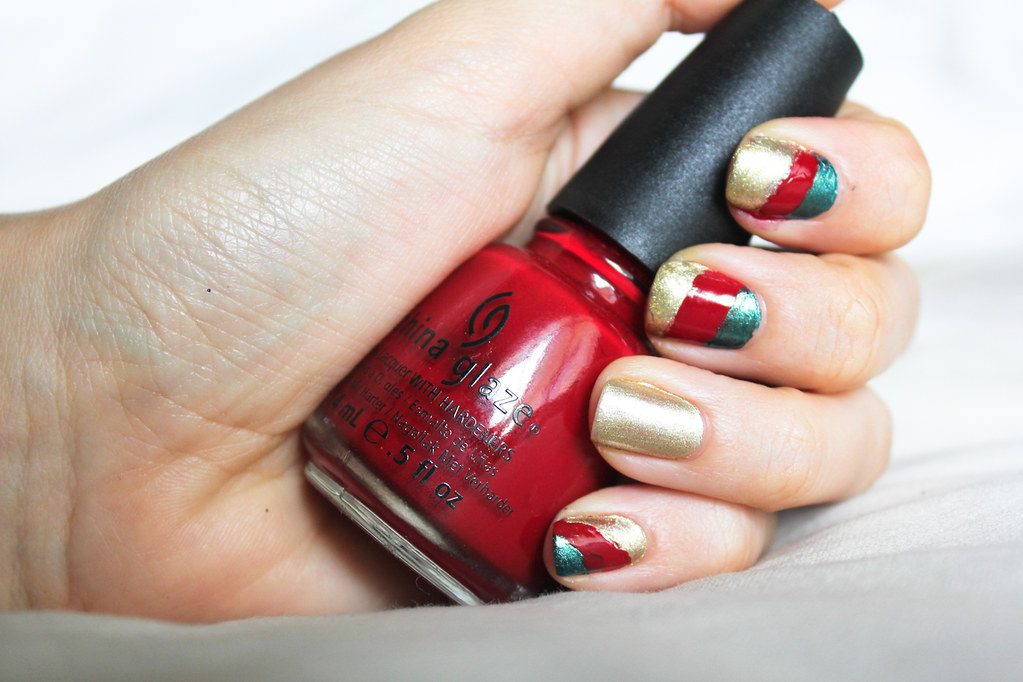
Letting the polishes dry completely, slowly & gently peel off the tape. If you notice a little bleeding of colours, your tapes probably wasn’t secure enough on your nail so simply touch it up with your base colour.
Finish off your polish with your favourite topcoat. I used Seche Vite’s Dry Fast Top Coat.
This manicure goes perfectly with outfits in rich shades of emerald, ruby, gold or sapphire. Your nails will help accent your outfit and create a seamless pull-together look.
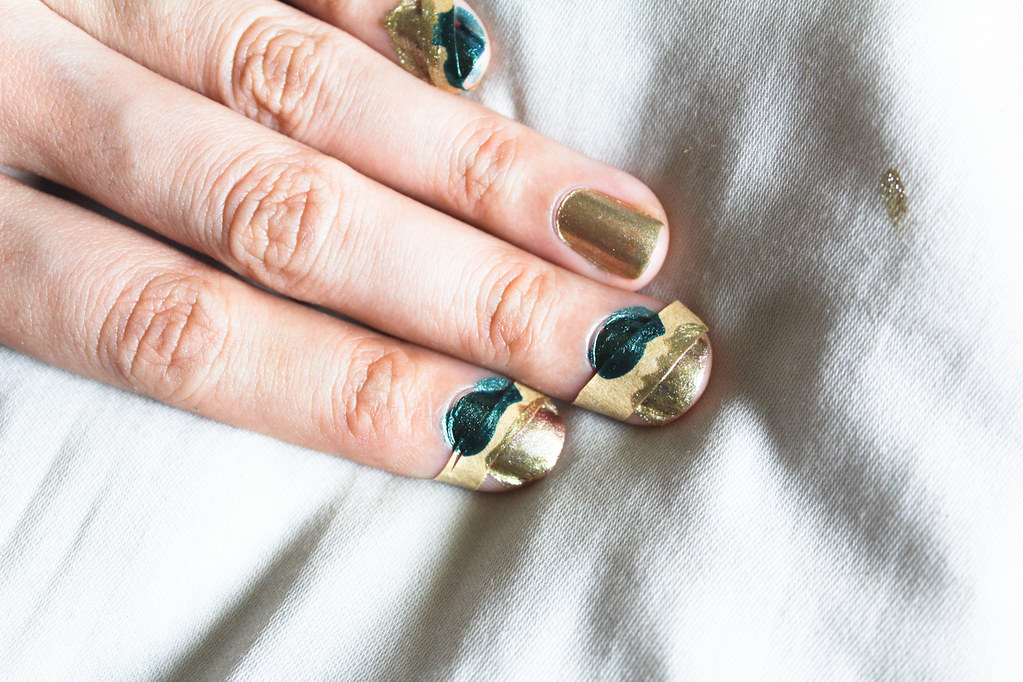
#3 I’m ready for a Christmas tree!
It doesn’t feel like Christmas, without a glistening Christmas tree!
I wanted a slightly different colour & vibe for this manicure, so I opted for a play of colours in purple & turquoise. You’ll need 2-3 polishes of your choice and masking or stripping tape.
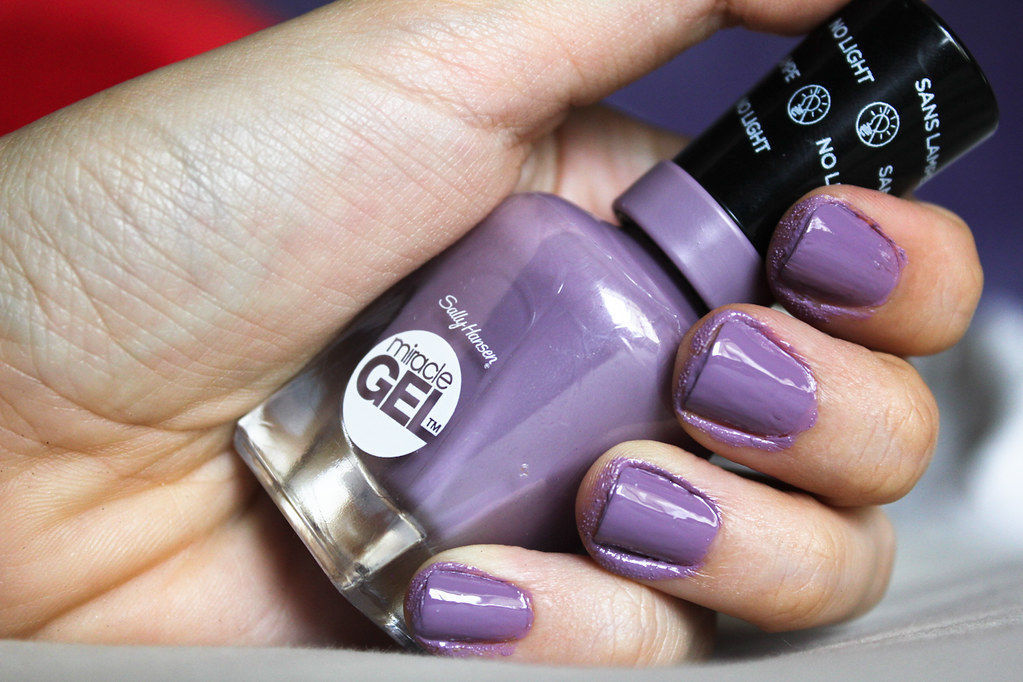
Firstly, paint your nails with your base colour. I chose Sally Hansen Miracle Gel in Street Flair. Unfortunately, I greatly failed in painting in the lines, but no worries as once it dries you can simply peel off the polish that are on the sides of your nails.

After the polish has dried completely, I cut up the masking tape & applied it on my ring fingernail to create a triangular shape.

Ensuring the tapes are secure, I painted on NYX Girls in Sea of Cortez. Because I felt that the turquoise wasn’t shimmery enough, I waited until that colour dried & applied OPI Rose of Light over it.
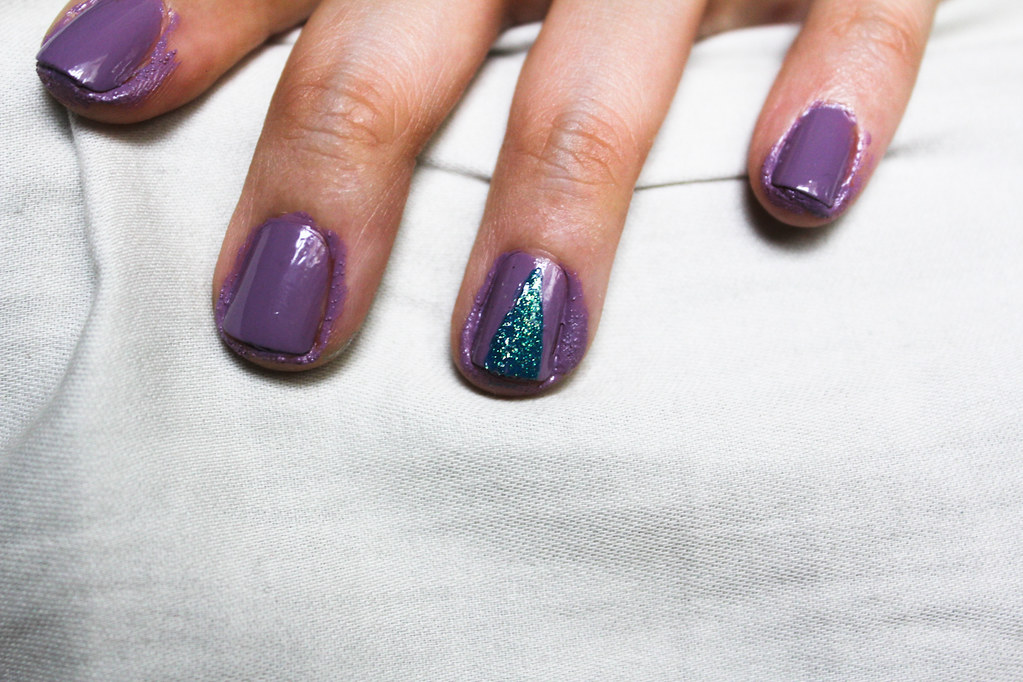
Once your ring fingernail polish has dried, peel off the tape & TADAH! You’ve got your Christmas tree!
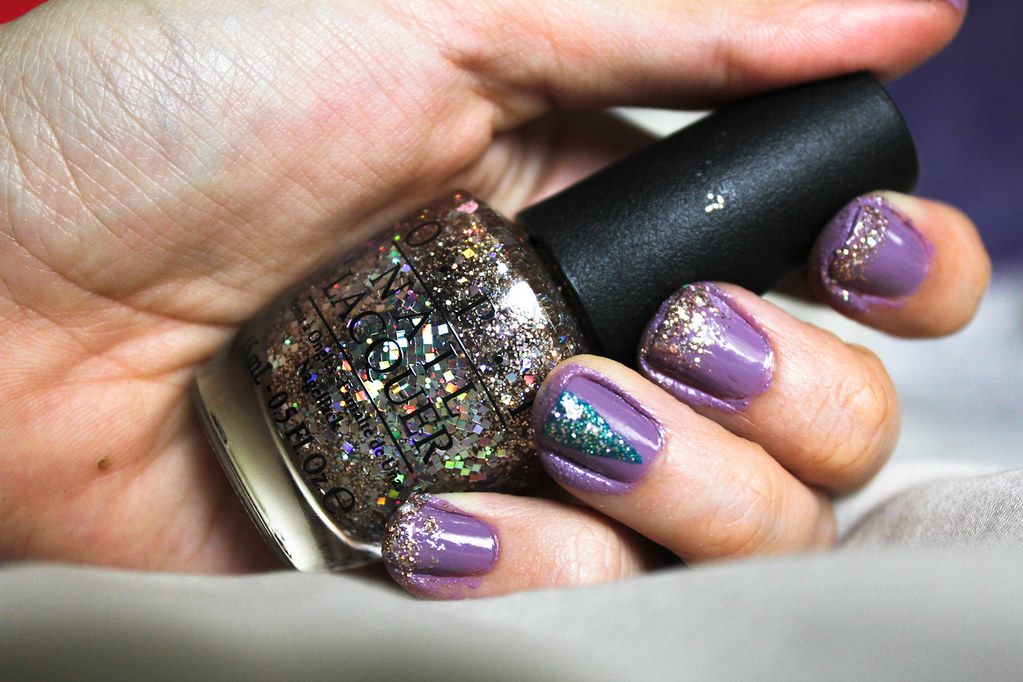
As I felt that this manicure wasn’t packing enough glitter, I painted the rest of my nails with OPI Rose of Light at the tip & dragging the glitter down slightly. So if your French tips aren’t perfect, it’s okay! 🙂
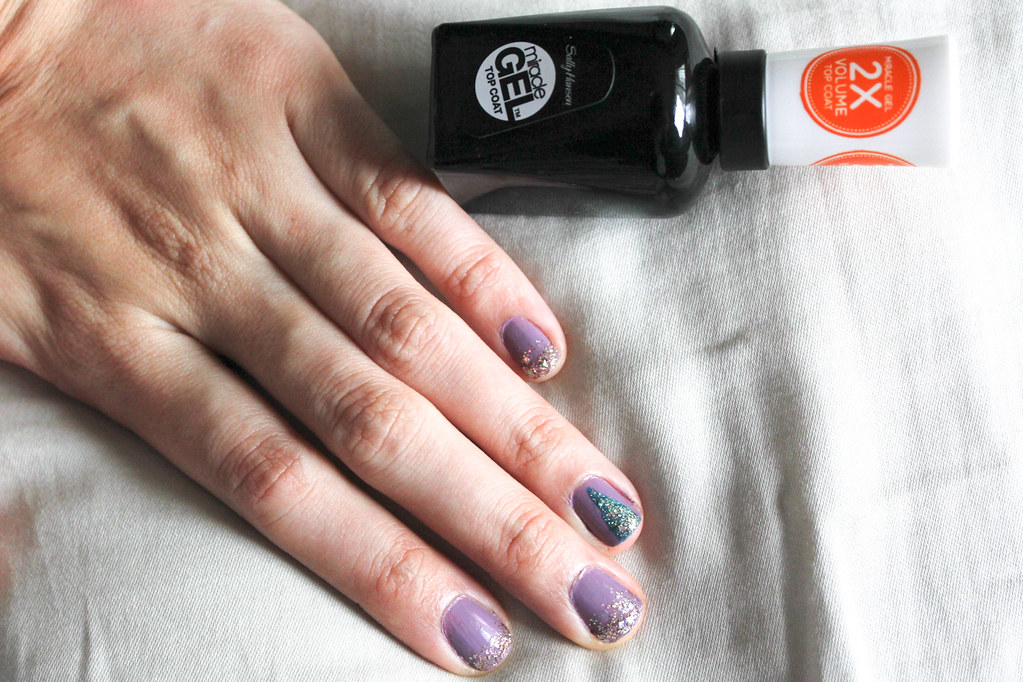
As always, finish off your manicure with a topcoat. I used Sally Hansen Miracle Gel Top Coat.
This manicure is great for adding a pop of colour & fun this festive season. Wear it boldly with your favourite shimmery dress!
For a home manicure that lasts, Sally Hansen’s latest Miracle Gel collection is a great choice. It boasts 14 days of wear with no chipping as long as you take care of your nails.
I have never been a good candidate for gel polishes as I wash my hands a lot thus causing the UV light gel manicure to peel off in a few days. With Sally Hansen’s Miracle Gel I am now able to create manicures with a gel-like shine finish without breaking the bank.
Unfortunately for me this polish did not last up to 14 days, but it did offer a slightly longer wear time compared to regular polish. 🙂
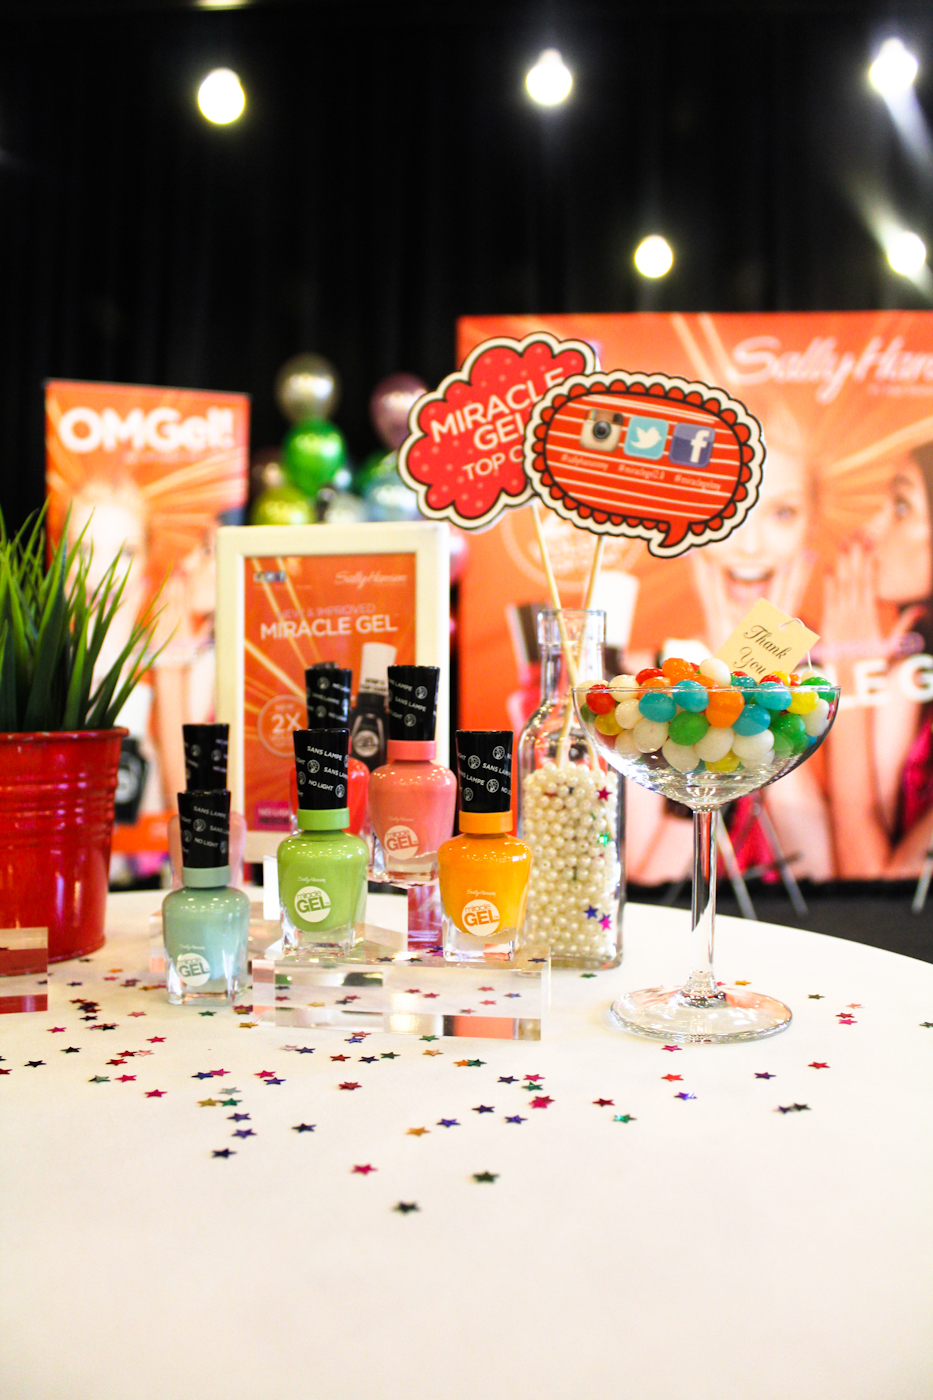
With 11 colours available, get your Sally Hansen Miracle Gel collection at Watsons, Caring Pharmacy, Guardian, SASA & Parkson, retailing at RM36.90.

Thank you Sally Hansen for inviting me to preview your latest Miracle Gel collection! The pretty pastel shades are perfect for a soft touch this festive season. 🙂
Get more information on Sally Hansen’s website & Facebook Page.
Let us know in the comments down below, which of these polishes are your favourite? 🙂